


🎃 Halloween Mini Hand Pie Mold – Choose 1, 4 or 8 Designs
🎃 Halloween Mini Hand Pie Mold – Choose 1, 4 or 8 Designs
Couldn't load pickup availability
Halloween Baking, Made More Fun
Little Pies. Big Halloween Fun.
Turn rolled dough and your favorite filling into festive hand pies with spooky details and neatly pressed edges—without shaping every little detail by hand.

Less Hand Shaping
Cute Halloween Pies Without Tracing Every Detail
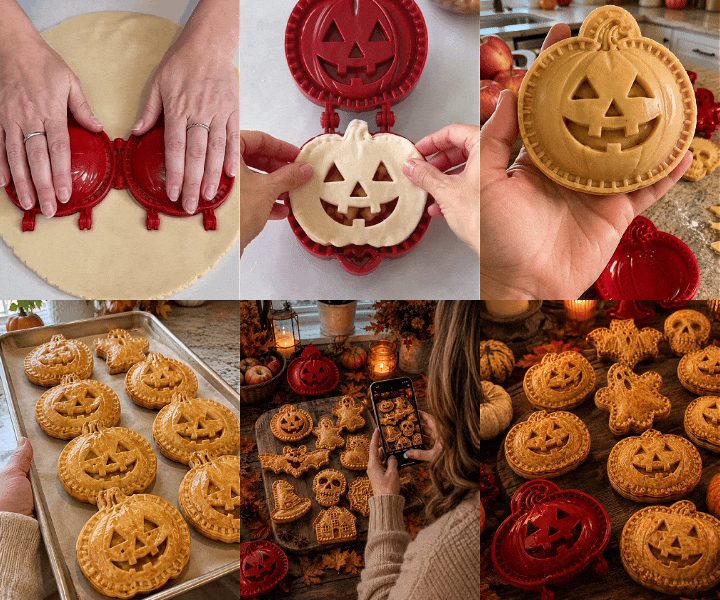
The hinged mold helps cut the dough, add the decorative impression and press the two layers together, so each batch looks more consistent with less hand-crimping.
Pick Your Halloween Lineup
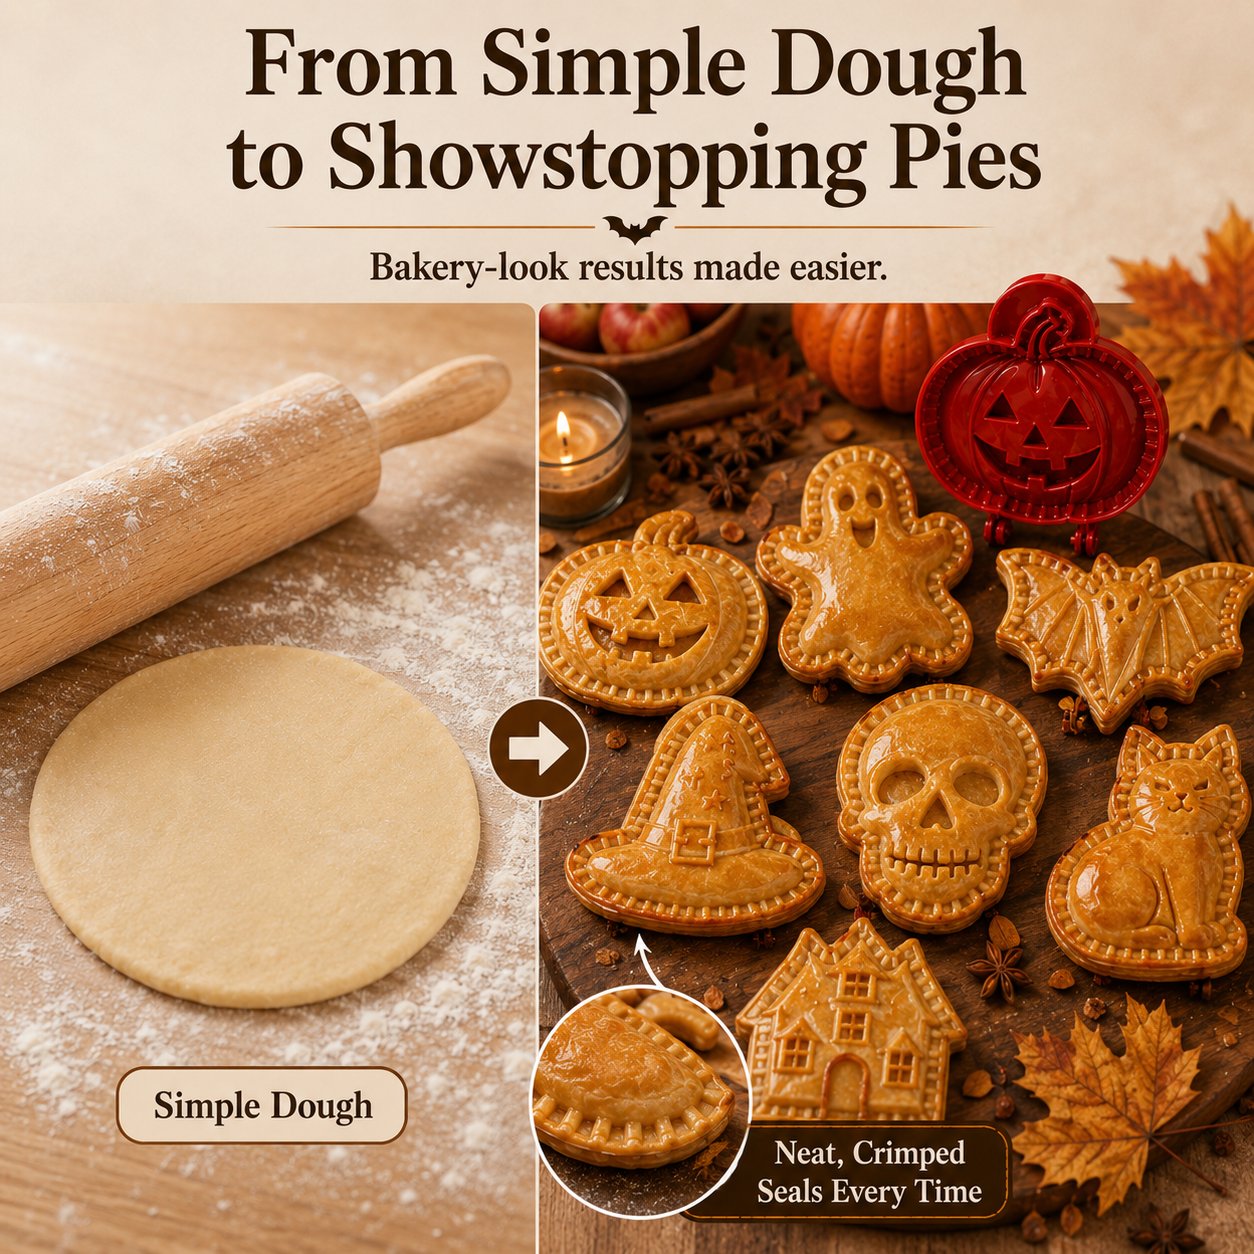
Eight Spooky Designs to Choose From
Go with one favorite shape, choose a themed 4-pack, or bring the whole collection together for a mixed Halloween tray.

Simple Process
From Rolled Dough to Ready-to-Bake Pie
Use the same four steps with every Halloween shape.
Cut
Cut two matching dough pieces.
Fill
Place the bottom layer and add a modest amount of filling.
Press
Add the top layer, close the mold and press the edges together.
Remove & Bake
Take the pie out of the mold and transfer it to your baking sheet.

From Dough to Halloween Table
Make Dessert Look Like Part of the Celebration
A spooky outline, decorative top and pressed border turn everyday pie dough into individual treats that look right at home on a Halloween table.

Make It Together
Turn Halloween Baking Into Family Time
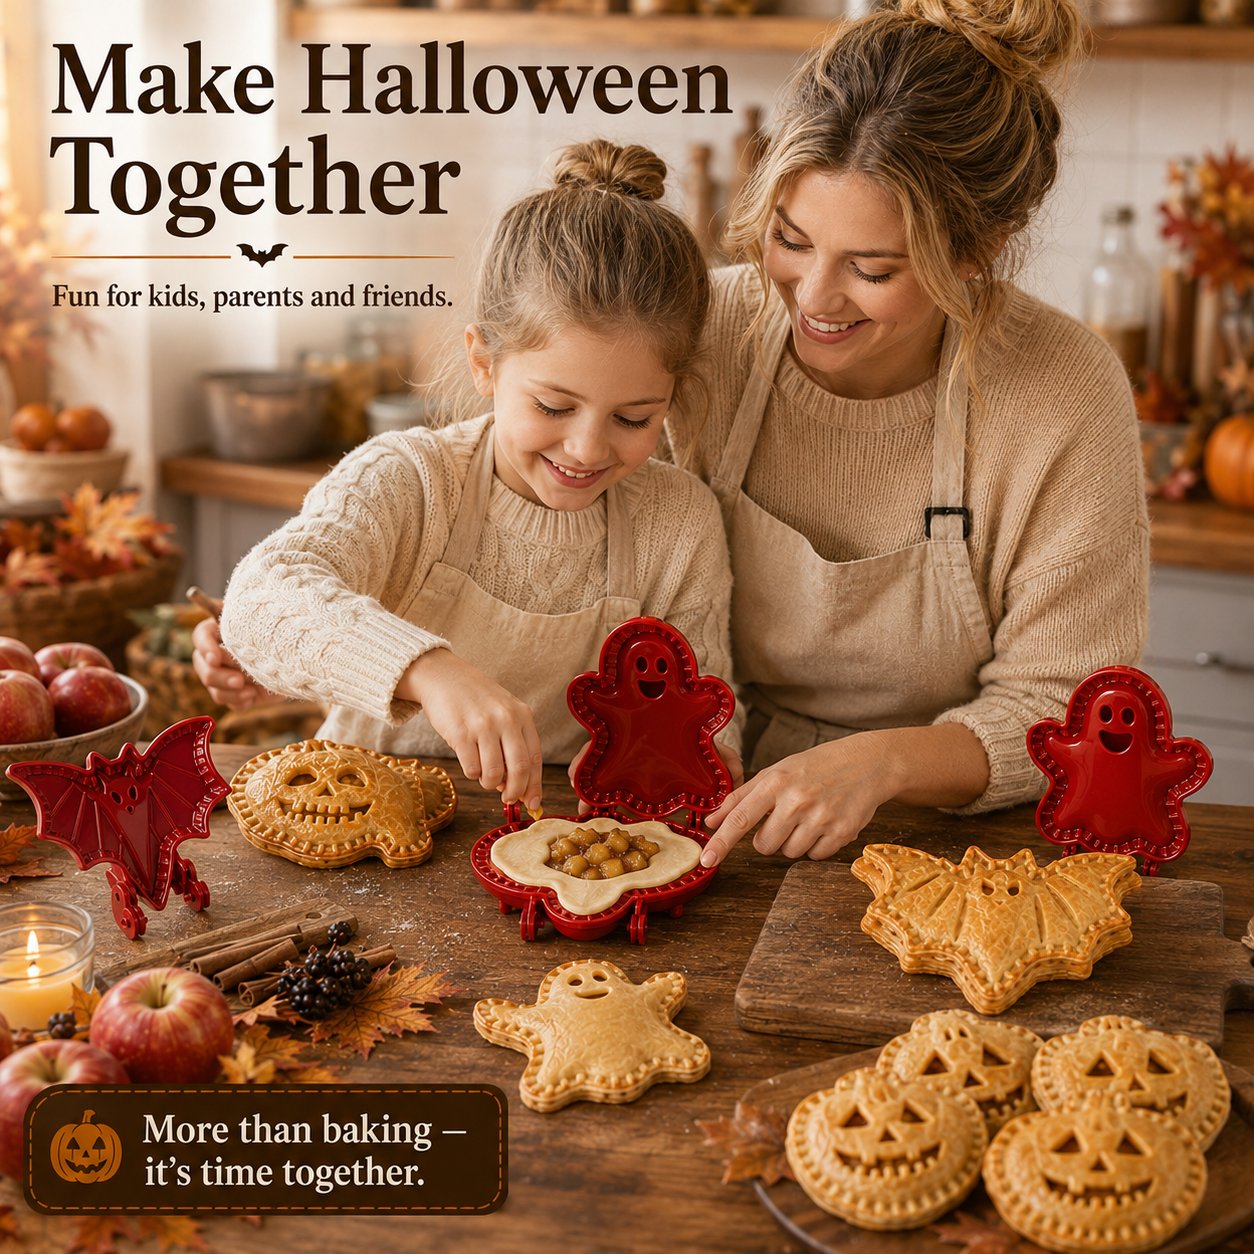
Let little helpers choose a shape, position the dough or add the filling while an adult handles utensils, firm pressing and every oven-related step.
The fun starts before dessert is served: choosing shapes, comparing finished pies and building a tray together can become part of the Halloween memory.
Change the Filling, Keep the Fun
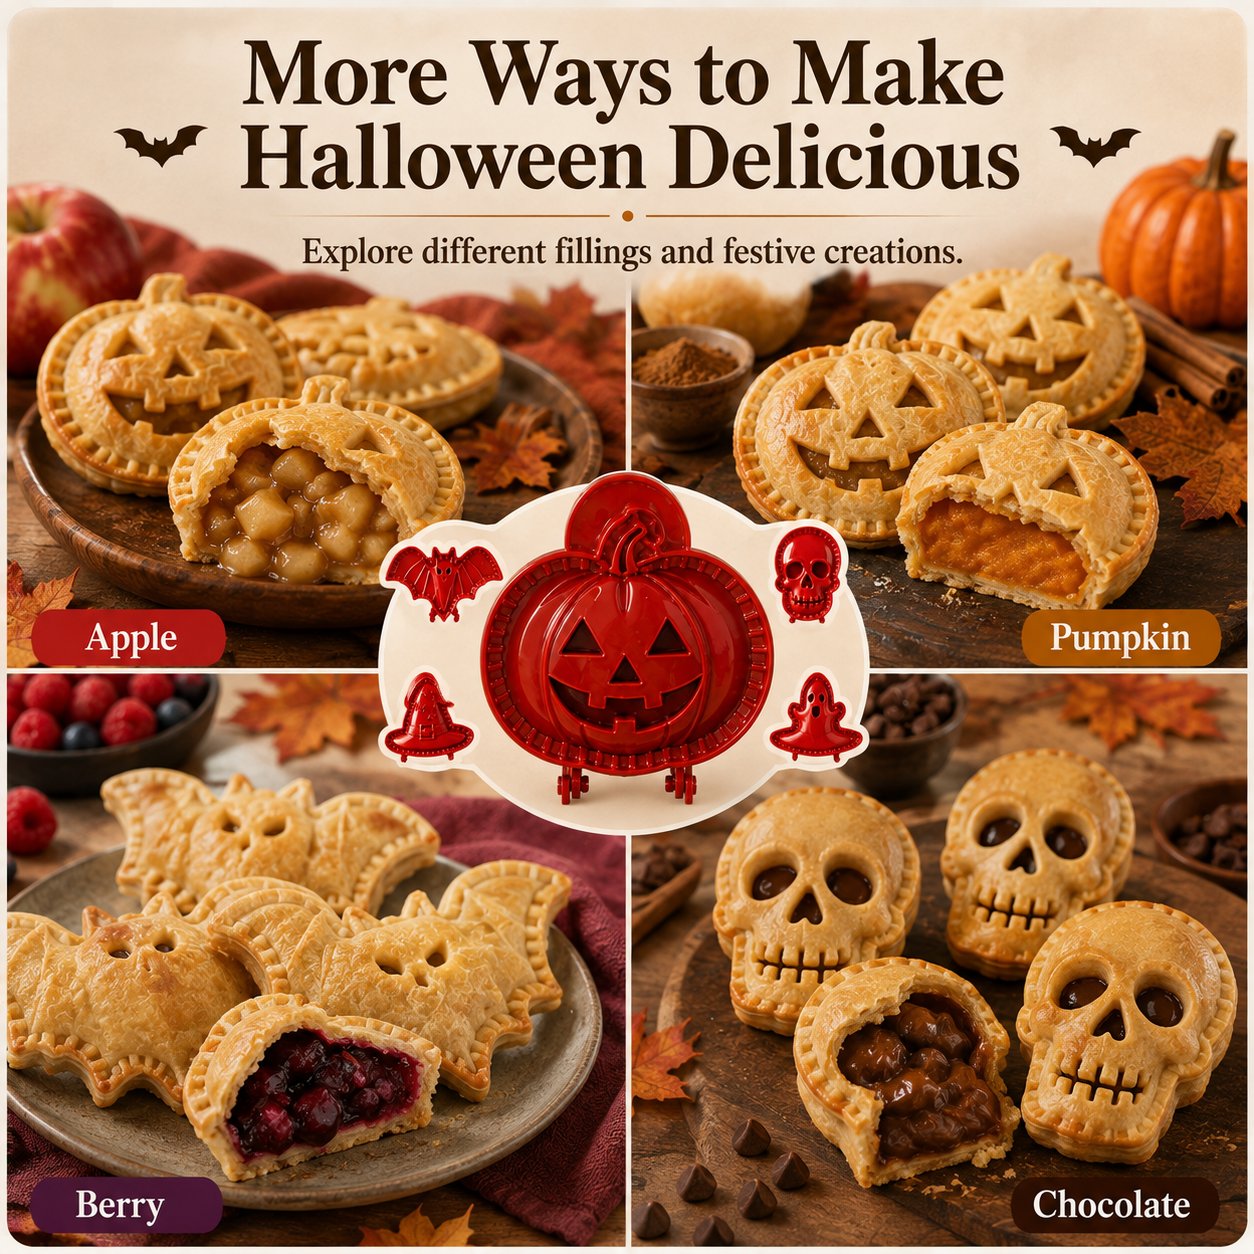
One Halloween Shape, Plenty of Flavor Ideas
Use compatible pie dough and fillings to change the flavor from batch to batch while keeping the same festive presentation.
Good to Know
Sized for Individual Halloween Treats
Compact enough for personal hand pies and easy serving at family nights, parties and seasonal gatherings.
Frequently Asked Questions
Before You Start Baking
Does the mold go into the oven?
No. Use it to cut, shape and seal the dough. Remove the finished hand pie from the mold, place it on a baking sheet and bake according to your recipe.
What comes with my order?
It depends on the variant you choose. Please check the selected option in the product purchase area before ordering: single designs, themed 4-packs and the complete 8-design collection may be available.
How large is each mold?
Each mold is approximately 8 × 8 × 2 cm (about 3.15 × 3.15 × 0.79 inches). Slight differences may occur between designs.
Do I need decorating skills?
No detailed hand decorating is required. The mold helps create the outline, top detail and pressed border for you.
Can I use different fillings?
Yes. Use compatible pie recipes and avoid overfilling so the edges have enough room to press together cleanly.
Can children help?
Yes, as a supervised family baking activity. Children can help choose shapes, position dough or add filling while an adult handles utensils, firm pressing and all oven-related steps.
How do I get cleaner edges?
Use an appropriate amount of filling, keep the sealing edge relatively clean, align both dough layers and press the mold evenly before removing the pie.
Bake · Share · Celebrate
Make Halloween Dessert Part of the Memory
Choose the shapes, add favorite fillings, press the pies together and bring the finished batch to the table. Simple enough for a seasonal baking night, festive enough for the party spread.


